As long as you have connected to the SPACECUBED WiFi, you will be able to connect to the PRINTERS within our Spacecubed sites.
Navigate to your device's operating system with the below links -
Installing Printers on Windows
Please see below the instructions to install the printer. There are two methods to getting connected:
Pre-start Checklist:
- You must be connected to either the Spacecubed WiFi (not Spacecubed Guest or FLUX Guest access points) OR connected via Ethernet port at your workstation.
- For most corporate members, your company usually employs security measures and firewalls to prevent unauthorised access to servers.
- Make sure to check the connection settings on PC, if it is set to private and there are issues, try setting it to public. This will most likely require an admin password.
- Staff who are not “Admin” users for their laptops may find that when installing the printer driver, they will be prompted for the admin to enter their username and password.
- Any VPNs should be turned off before trying to connect.
Method 1 - Connecting to the Spacecubed Printer Server
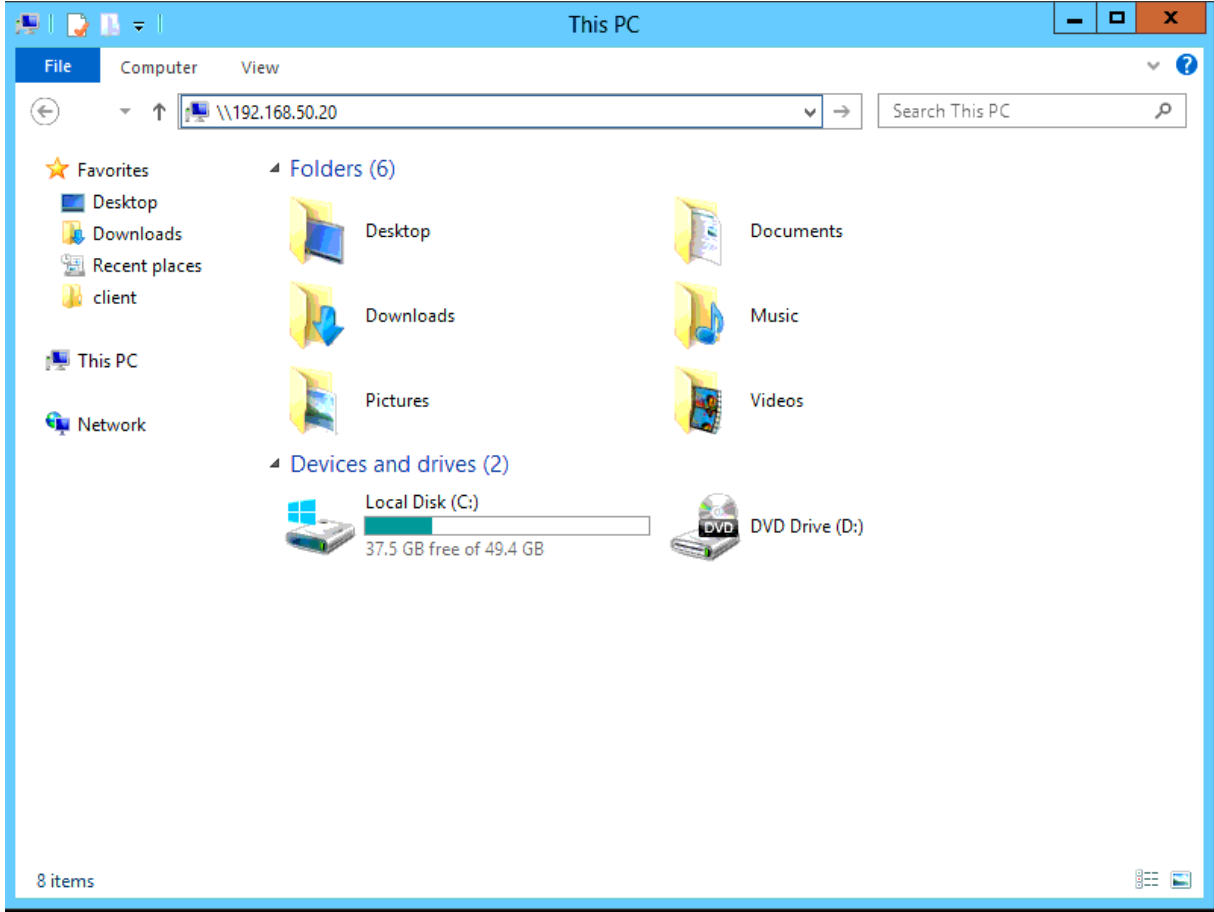
- Open File Explorer and browse to \\192.168.50.20
- At this point it is highly likely you will receive a Window's pop up prompt for a username and password.
Be aware, it may seem like it is asking you your laptop username and password -
this is not the case.
- Please click on ‘More choices’
- Enter the username and password specified below:
Username: spacecubed-print
Password: WeLikeToPrint$
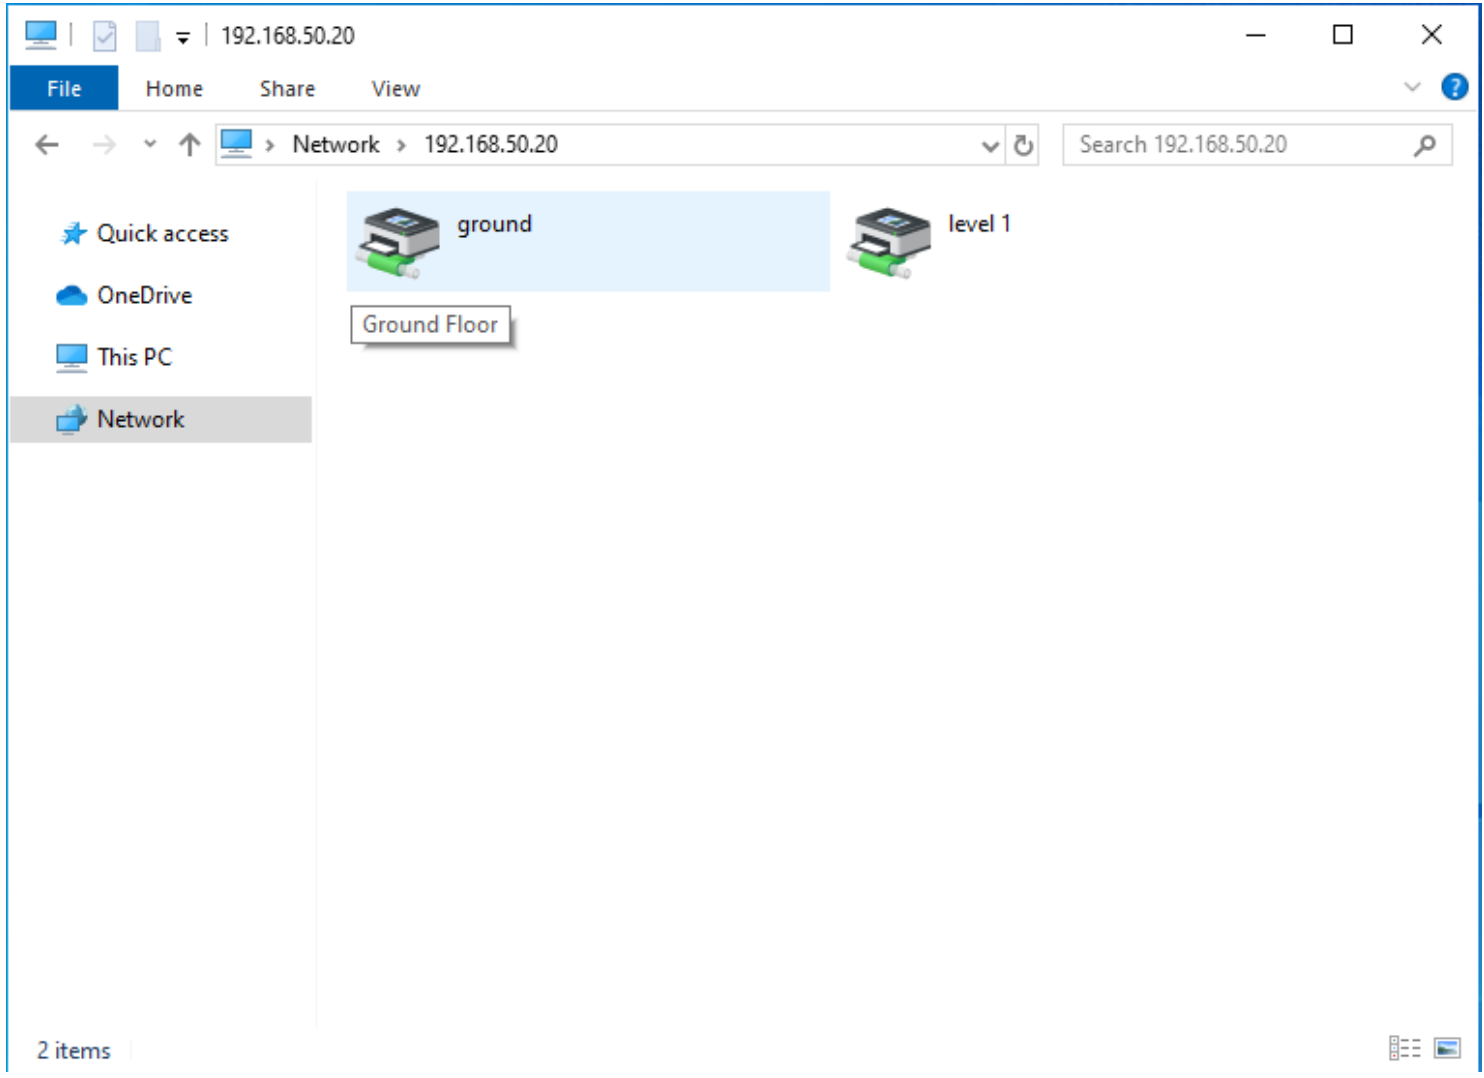
- The next window will show you the printers that are connected to the server in that Coworking space as well as a folder for the printer drivers.
Right click on the printer that you would like to connect the member to, then click on “Connect”
- A pop up window will show that the laptop is attempting to connect to the printer.
IF SUCCESSFUL the printer driver will automatically install and then the pop up prompt will disappear.
Searching Settings -> Devices -> Printer. This area should show that the printer you selected to install - if the printer is displayed here, congratulations you were successful!
If you were not successful - please continue following these steps.
The issues you may encounter up to this point could be -
- Error pop up message - could be a windows update, device needs to be restarted or not on the right WiFi.
- Cannot connect to server - likely a security issue (that will require your IT team's admin password) or not on the correct WiFi.
- Server not found - likely a security issue (that will require your IT team's admin password).
- You don’t get a pop up to add in the username and password - could be that you have been a member of Spacecubed previously or had your laptop connected before or had entered the incorrect username and password when attempting to connect to the printer.
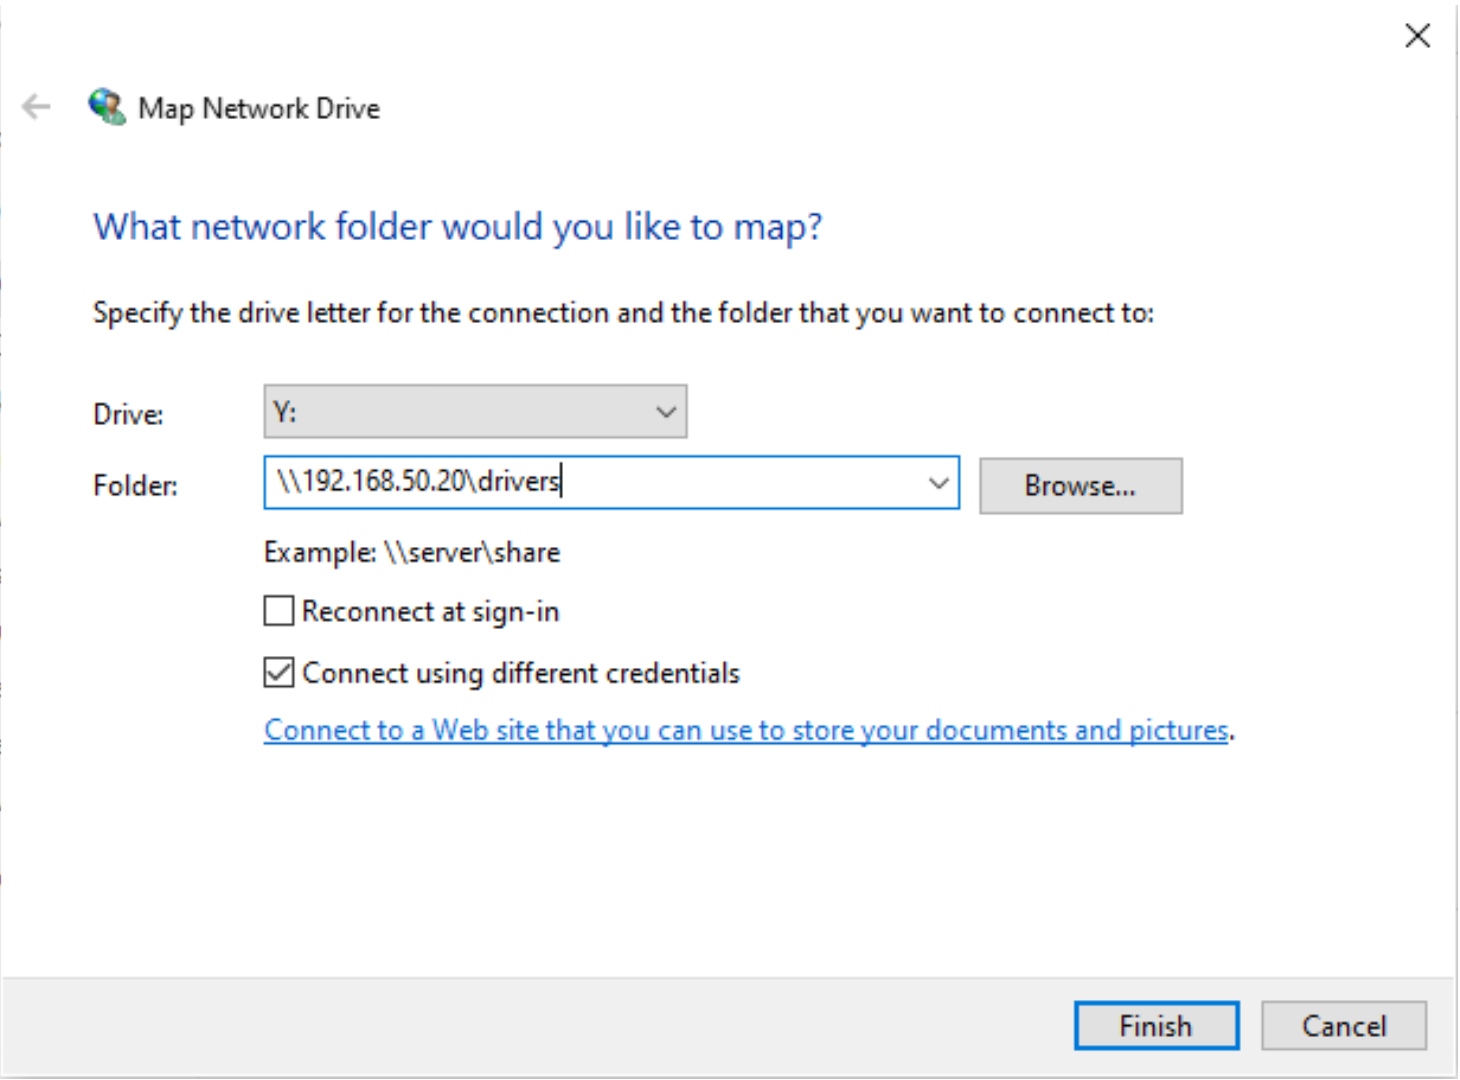
Next we will try mapping a network drive to the print server, forcing Windows to accept additional credentials
- Open up the Windows Explorer, right click on ‘This PC’ then select ‘Map network drive’.
- Enter the following information as per the screenshot below then click ‘Finish’
- The next popup will ask you for login credentials - these are the same credentials as the one above in step 2.
- If successfully connected, you will see the printer drivers. Start from Step 1, then go to Step 3 above then hopefully Step 4.
If you’ve followed all the steps up to Step 6, and you're still unable to connect. You're confident that it's not an issue with Administration Access on your side.
However, there's one more troubleshooting step worth considering. We aim to determine whether the Windows Firewall settings are causing the laptop to be unable to connect to the Printer Server.
- Go to Settings -> Security -> Firewall
- Disable all 3 firewall settings.
- Try Steps 1 through to 4.
- Successful OR not, after completing that process, we must go back into the settings and re-enable the firewall settings.
Not Successful, try method 2.
Method 2 - Connecting directly to the printer via its IP address.
- Open up Settings -> Devices-> Printer.
- Click Select Printer.
- Wait for the option to Manually Add Printer.
- Select - “Add a printer using an IP Address or Hostname”.
- Next Window - Device Type, Select “TCP/IP Device” option.
- Enter 1 of the following IP Addresses that apply to the printer you want to connect to -
- FLUX Level 1 - 192.168.40.4
- FLUX Level 6 - 192.168.40.6
- FLUX Level 7 - 192.168.40.2
- Riff Ground Floor - 192.168.40.15
- Fern Ground Floor - 192.168.40.4
- Fern Level 1 - 192.168.40.6
Please see the following links to the drivers, these can be downloaded from Ricoh or we will have them on USB sticks in each space, you can also have these copied from the printer server (if you can access them from the laptop).
- Ricoh IM C2000
FLUX Level 7
Riff Ground FLoor - Ricoh IM C2010
FLUX Level 6
Fern Ground Floor and Level 1 - Ricoh IM C3000
FLUX Level 1 - If for some reason you cannot get these drivers to the laptop you are working on, you can select the update windows drivers - NOTE that this option will take anywhere from 5 to 15 minutes for Windows to update all drivers -
Find Ricoh in the list and then locate "PCL6 Driver for Universal Print"
Once you have the driver on the laptop, you can then select the install path (select where the driver is located on the PC) then click select on the correct printer type.
If successful the pop up screen installing the driver will disappear - you can then head back into settings to see if the printer is displayed there.
If you are still not successful in installing the printer - you will need to check with your IT contractor.
You should forward these instructions over to your team to see if they can remotely install the printer.

Please contact us here if you require further support.