1. Go to the Plans tab on the top navigation bar and click 'Create Plan'.

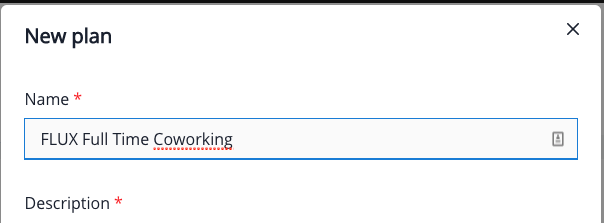
2. A popup will appear for you to complete. Make sure to include the location name in the plan name.
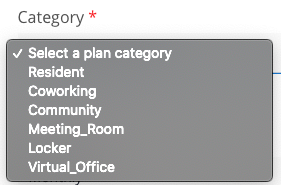
3. Choose a plan category to reflect the type of plan, for example, coworking or resident.
4. Add in the rate and choose the billing frequency to be monthly or annually.
5. Add in the number of meeting room credits allocated monthly to this plan.
NOTE: Meeting Room credits do not accumulate, they are renewed each month.
6. You have the option to add a plan inclusions PDF to the plan which can be seen on your online signups page if you make the plan public.
7. To allow members to sign up for your plan online and on the platform make sure to toggle on the 'show to members' button. If this is turned off members will not be able to request to sign up to this plan and it will only be visible to Admin.
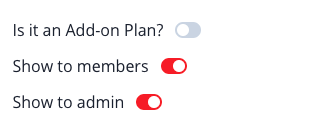
8. To archive a plan so it is not seen by other admins toggle off the 'show to admin' button. This will hide the plan from Admin without Super Admin privileges.
9. Only toggle on the 'Is it an Add-on Plan?' button if the plan is not a workspace membership but a recurring add on charge for members. For more information in Add On plans see this article.
10. Click Save and you will see a confirmation message that your plan has been created. You'll be able to see the details of your plan at any time in the Plans tab.