How do I add plans to an existing Team?
This article will show you how to add new plans to an existing Team and assign Team Members to them. Remember Team Admins are also able to request new plans through their member account.
1. Log into your admin account at platform.spacecubed.com
2. Navigate to the Teams section on the top navigation bar

3. Search for the Team you wish to add a plan to and click into the Team account
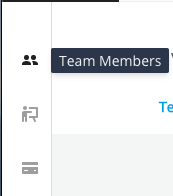
4. On the side navigation bar select the icon for Team Members which will take you to see all the names of members of that Team

5. Above those names you will be able to select the button for Plans which will show you any active plans the Team currently has

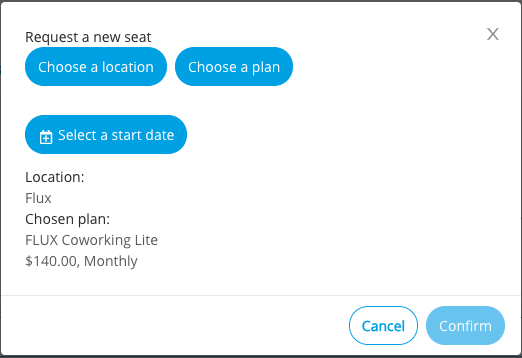
6. To request a new plan on behalf of the Team click the button 'Request New Seat' on the top right of your screen and a popup window will ask you to select a location, plan and start date for the plan.

7. Before clicking 'Confirm' check the summary at the bottom of the window is correct. You will not be able to click 'Confirm' unless a start date is selected.
NOTE - You can adjust the pricing in the next step in the admin portal, you're not able to change pricing here as members are able to request a new plan but cannot choose their pricing.
8. Once you have confirmed the request you will see a confirmation message at the top of the screen and the request has been sent through.
9. In the top navigation bar select the Requests tab and you'll be shown a list of pending requests to be approved.

10. Find the request you just sent through and click the button 'Approve/Edit' and the popup with appear and you'll be able to either approve straight away or adjust pricing if required.

11. Once a request is approved it will appear in the Team's account only after the selected Start Date.
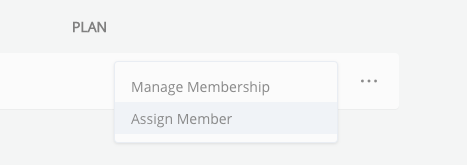
12. You can add a member to the plan in their Team account by clicking on the dots on the right-hand side of the relevant plan and clicking 'Assign Member' and choosing their name from the list or sending a new invitation if the member is not yet part of the Team.

